

My Motorcycle Restoration Hobby
by Robert Patton
Originally printed in issue #77 of Still....Keeping Track
One of the many motorcycle magazines to which I subscribe did a multiple-part story on restoring a 1970 Honda CB350. Honda fans, you can follow the rebuild at www.motorcycleclassics.com.
How does the MC Honda restoration tie in with the Penton Owners Group audience?
Easy, the MC article tells of their trials and tribulations and, since I have used/modified/adapted many of their tips, I can give you an update on “did it really work” and add some school-of-hard-knocks updates.
Let’s Go To Work
In Part I, Motorcycle Classics writer Richard Backus sets the stage. He is taking a tired CB350 (purchase price $200) and his goal “is not a restoration, per se—think of it as a sympathetic rehab, bringing a motorcycle back to road worthiness.” That was Backus’ stated goal, but by the time he reached Part VI of the story you could see that the bike was a nice restoration. Backus’ articles were truly inspirational.
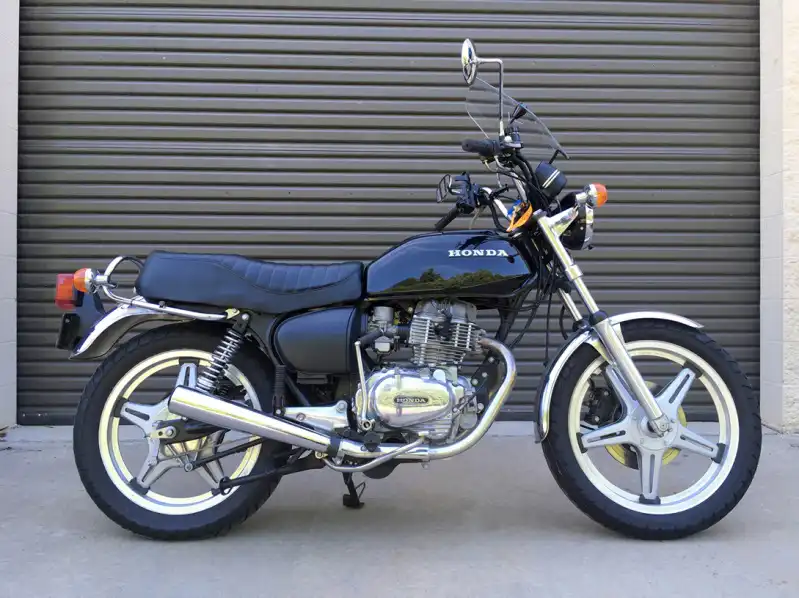
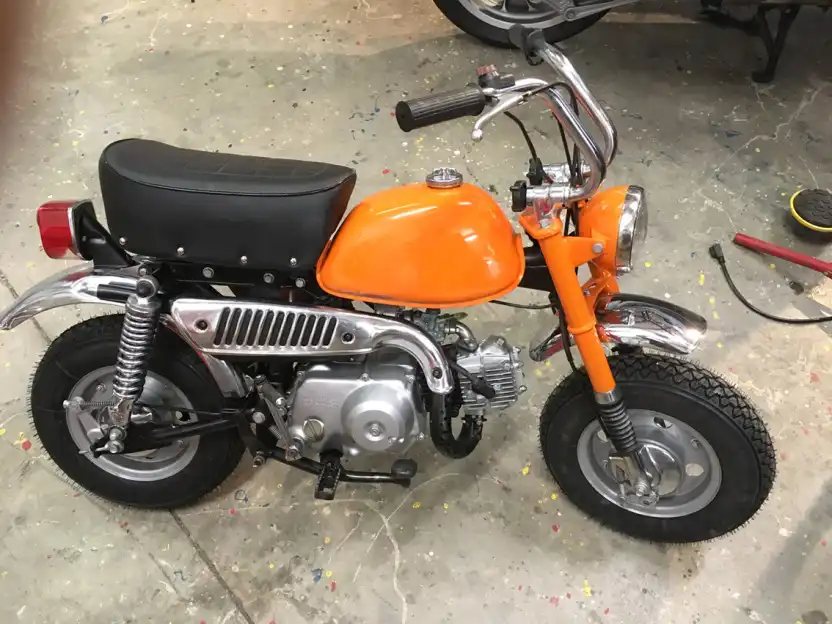
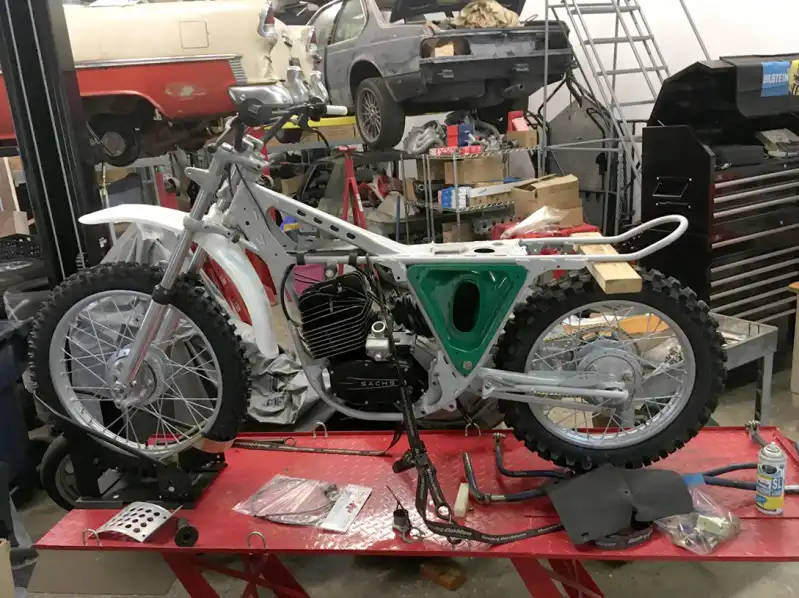
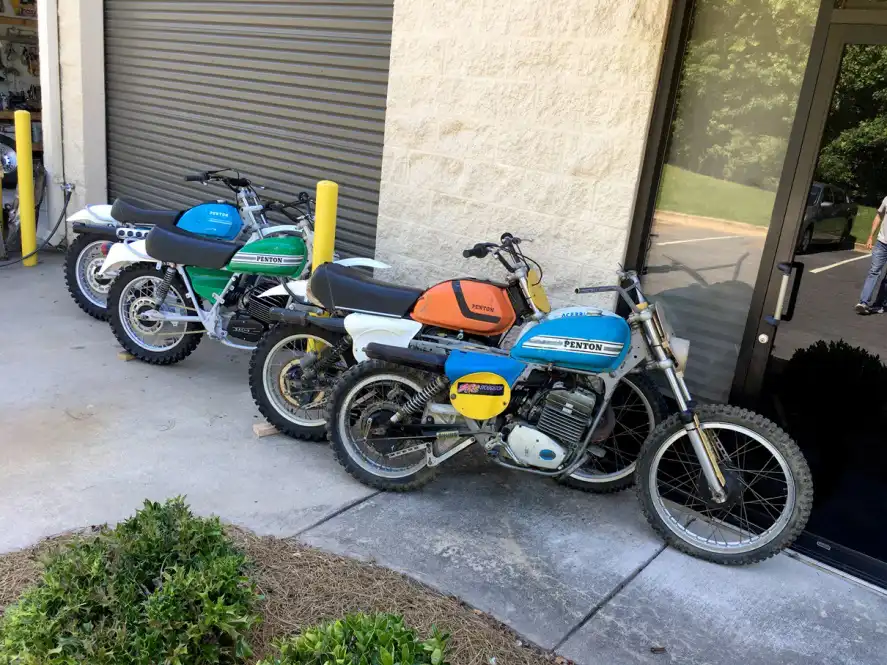
I had not read the MC article prior to starting my own restoration/rehab/refresh of the following motorcycles, all 1970s vintage: two Honda Z50s; two Honda CT70s; two Honda CT90s; a Honda CB400T; a Penton 125 and a Penton 175. However, I started the project in the same manner: Step one, does the engine run? If it doesn’t fire, does the engine have good compression?
Note to self: At a minimum on a motorcycle restoration the carburetors will have to be cleaned. So let’s get out to the shop and do some work!
Motorcycle guys, here is a point where you have to make a decision. Do you log on to eBay and purchase an aftermarket set of carburetor rebuild parts, purchase an OEM set of rebuild parts, clean your parts in a one gallon solution of “Berryman Chem-Dip” cold solvent, clean the parts with an ultrasonic cleaner (a great excuse for a shop tool), or send the carbs out for cleaning?
With varying degrees of success I’ve tried all four options. I’ll list the pros and cons of each and give you some prices to help you make a decision.
1) Carburetor rebuild kits, aftermarket versus OEM. Wow, it is impossible to help with this price comparison because prices for carb kits are all over the board. Can we agree that aftermarket parts (when available) are, typically, half as expensive as OEM (when available)? Note the use of “when available,” with any 30+ year old vehicle supply is sketchy. No worries, see “4) Send the carbs out for cleaning.”
2) Clean in cold solvent (Berryman Chem-Dip). I’ve had marginal success with this technique. Beware, as it says on the side of the container, “Don’t leave aluminum parts in the solution too long.” The solvent will loosen the grit and contamination, but it takes scrubbing to remove the dirt. (Hey, that’s what the ultrasonic machine does, right?)
But, remember, don’t leave the parts in for too long as it turns the aluminum a dark grey, crusty color. (Ask me how I know.)
After playing around with two-gallons of the cold solvent and looking at the results, I am not a fan of this technique.
3) Clean with cold solvent in an ultrasonic machine. I purchased a “shop tool” (don’t tell the wife). A Kendall Ultrasonic/Cleaner (HB36 - 6 liters) from Amazon. Price $ 399.
I really like the machine, it is great for cleaning small parts. However, even when you cut the cold solvent 25/75 with water, or you use a Purple Power-type solution you still run the risk of oxidizing the aluminum into the dark grey crusty color. (Ask me how I know.)
The machine is really good at cleaning the nuts and bolts, although for show quality results you’ll have to have the parts re-plated. For a quick rehab/refresh you can give the nuts and bolts a light spray of Rust-Oleum “Aluminum” paint to keep a re-rust situation from happening.
4) Send the carbs out for cleaning. Finally a cost-effective answer to help us start (literally) the project.
Like you, I have seen the vapor blast advertisements in magazines and was skeptical of the process and leery of the price. However, fellow Penton (motorcycle) Owners Group (POG) members recommended Dan Vitaletti at Vapor Blast Solutions (vaporblastsolutions.com) and he cleaned five wheel hubs ($90) and then three carbs and a reed block ($80) and the parts looked better than new.
Really, better than new.
Dan Vitaletti is in the process of moving to Washington state and should have his machine ready for work (it is a hobby/business) this fall (vaporblastsolutions.com). Other sources: Clean Machine Blasting (.com) in Savannah, Georgia. I sent two Honda Mini-trail 50 carbs to Richard Hinely at Clean Machine and the invoice was $30. That’s right, only $30.
