

Sachs "B" Rods
by Alan Buehner
Originally printed in the 2008 issue #39 of Still….Keeping Track
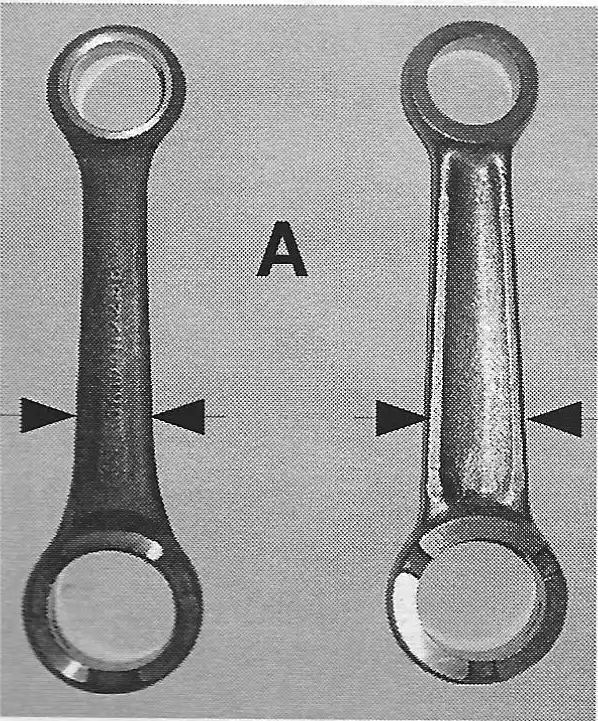
All rods for the Sachs engines are not created equal. As you can see in the top photo (A), the rod on the left is an original Sachs rod and the rod on the right is a reproduction rod. The reproduction rod is beefier with an "I" beam shape. They are both the same length eye to eye and the same thickness where the bearings insert. But, that is where the similarities stop.
The reproduction rod is wider from the lower bearing area up to the upper bearing area(as shown in photo A). Because of this, installing one of these new rods into a "B" or "D" Sachs engine will result in the rod hitting the inside of the right side engine case and will prevent the crank from turning. Note: This same rod is also used in the "A" engines. Because the diameter of the "A" crank is bigger than the "B" crank, there is plenty of room for the "A" rod to clear the inside engine case.
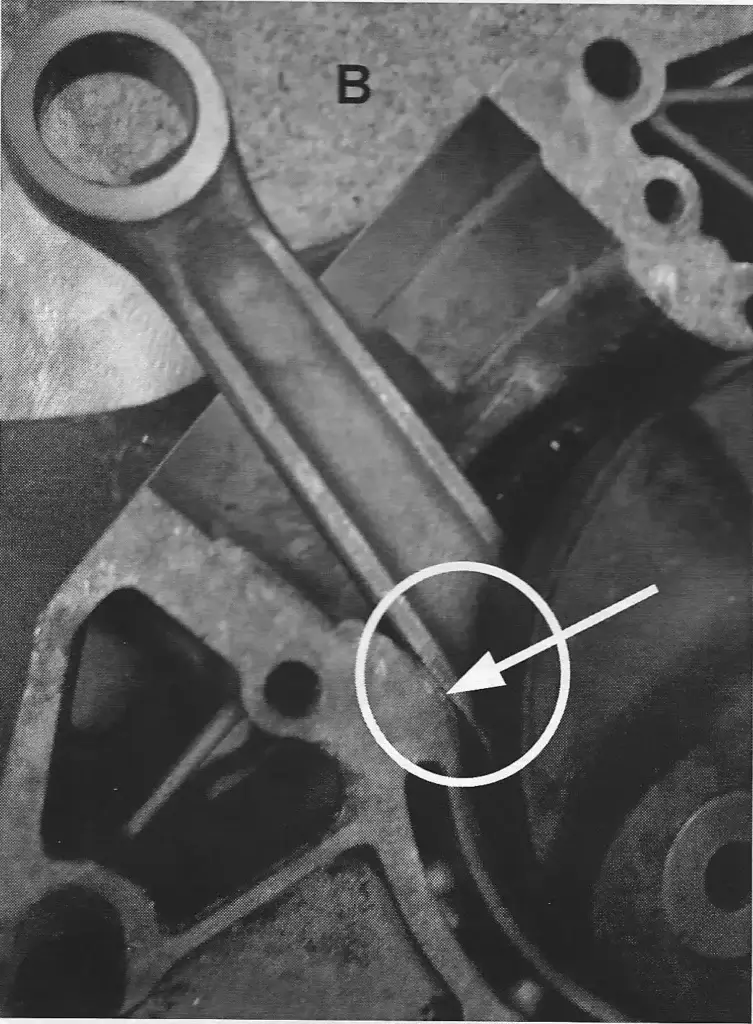
When installing any new rod kit in a "B" crank assembly, always check the rotation of the crank. Put the crank in the right side case, keep the wrist pin area centered, simulating its position with piston and cylinder, the rod will strike the forward end of the case (see circled area in photo B). Failure to check this can result in the crank locking up and you will have to re-split the cases. Note: movement of the rod will effect the right case half only.
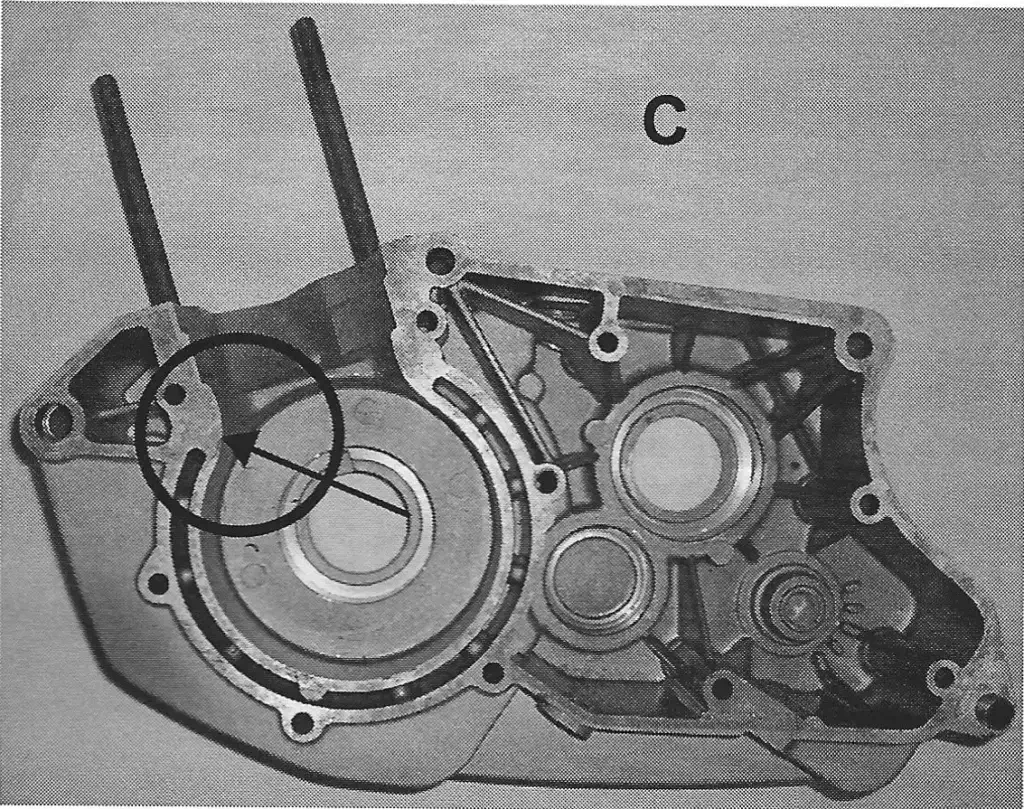
If you encounter problems with the rod striking or hitting the inside case, the easiest way to handle this problem is to grind out the inside right case at the circled areas shown in photos B & C, to where there is suffient clearance for the crank to turn without the rod touching the cases (see circled area in photo B). Grinding out the cases will not affect the performance of your engine.
The hard way way to handle this problem is to remove the rod from the crank, and using the old rod as a guide, grind the lower part of the rod so that it matches the width of the old rod. Make sure the rod is thoroughly cleaned of any metal dust particles before pressing it back into the crank. Hopefully after re-installing the new rod, it will clear the inside cases and you will be good to go.